Lock an IEP for editing
Your
A lock on an IEP has a time limit, set by your
If your
To claim and lock an IEP for editing:
- Log on to the Special Education view.
- Select IEP or Student > IEPs.
- Open the IEP you want to edit. A yellow Unlocked icon
 appears at the top of the record.
Note: If the red Locked by another user icon
 appears, someone else has locked the IEP data for editing, and you must wait until they are done before you can make your changes. If you have override privileges, you can override the IEP data table lock. If you do so, the following warning appears.
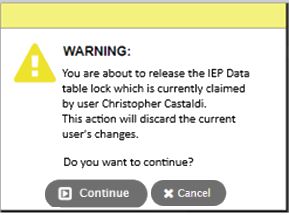
- Click the yellow Unlocked icon. It changes to a green Locked icon
 .
.
- Edit the IEP. A timeout warning appears when you have less than a minute on the lock.
-
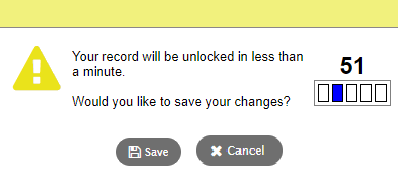
- Click Save to save your changes and renew the lock for another interval or Cancel to exit the IEP without saving. If you do nothing, the lock is released, and your changes are discarded.
- When you are finished editing, click Save.
Important: Unlocking the IEP alone does not save your changes.
- Click the green Locked icon to unlock the IEP.
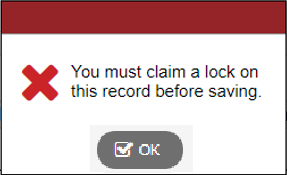
| Note: If a lock is overriden by someone else, the following prompt appears when you attempt to save.
Click the yellow Unlocked icon |